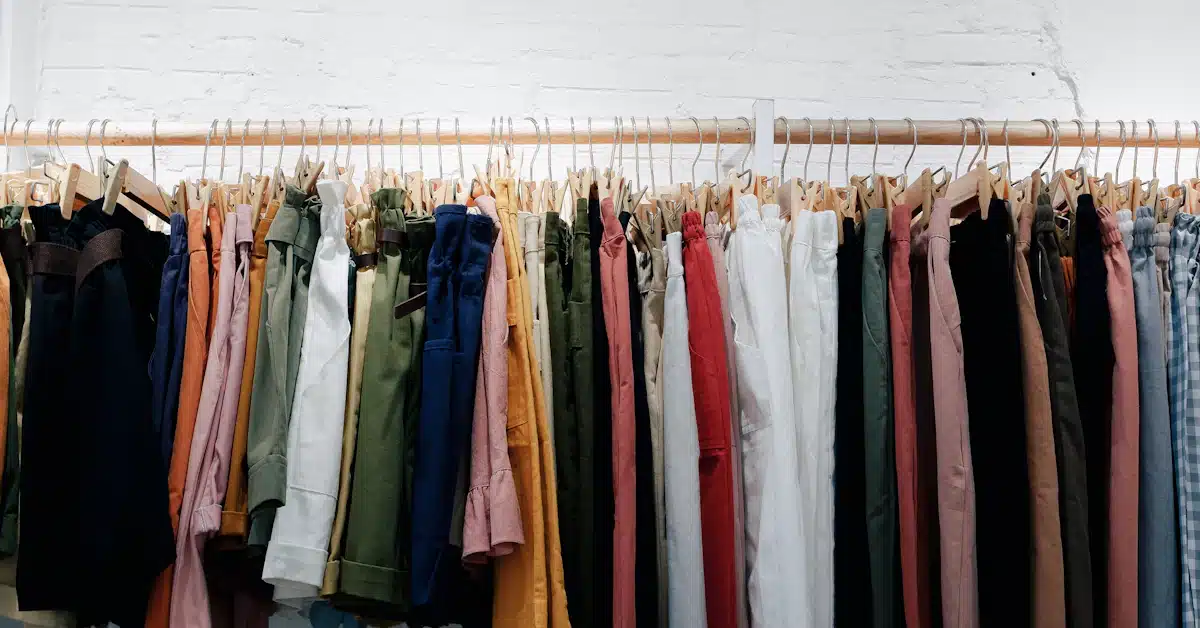
O que esperar da Temu ao comprar pela primeira vez
Buying from a new platform requires clarity and confidence. This guide explains the initial steps and what you can expect when navigating...

Temu Review: Complete Guide for Your Best Purchases
This guide explores the Temu experience for frequent shoppers seeking convenience and value. You will discover how the platform operates and whether...

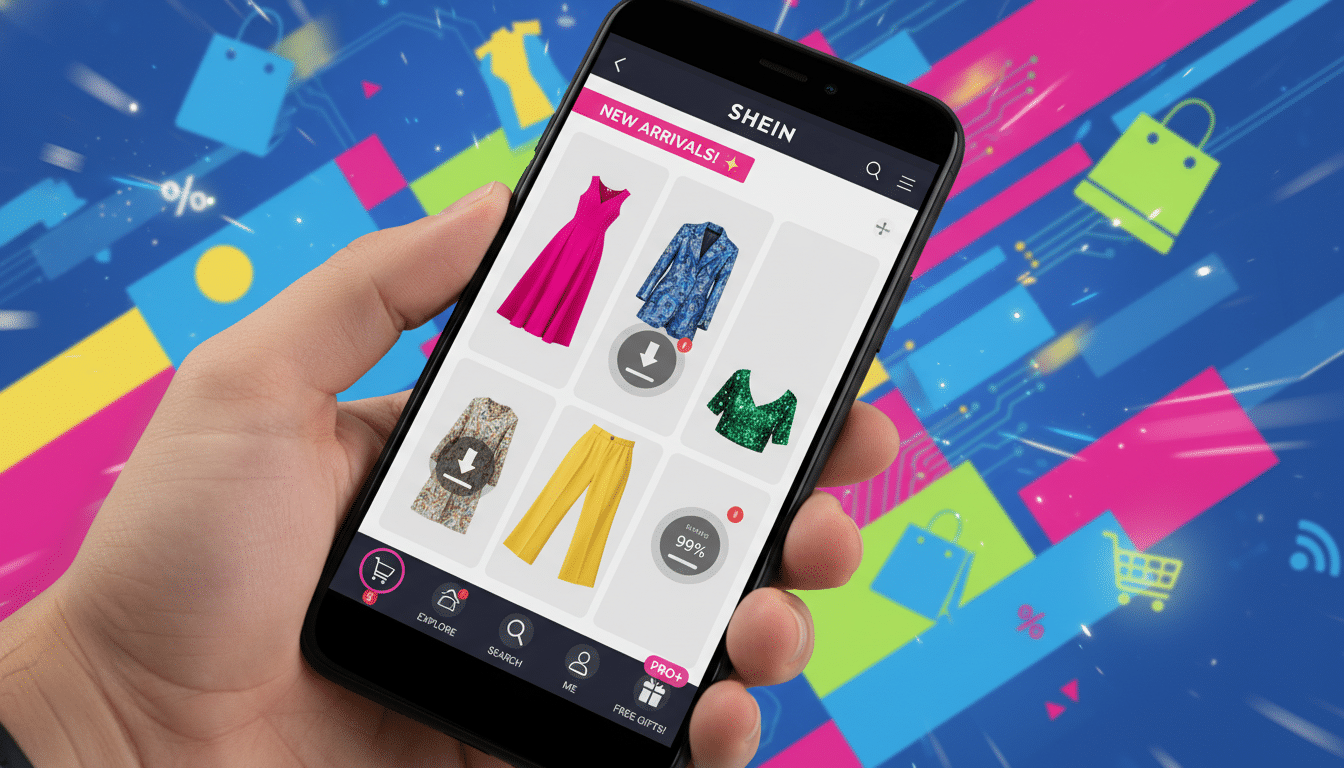
How to Use Coupons on the SHEIN App (Step-by-Step)
This short guide walks U.S. shoppers through using coupons on the SHEIN App. It helps you save money on fast-fashion finds. SHEIN...
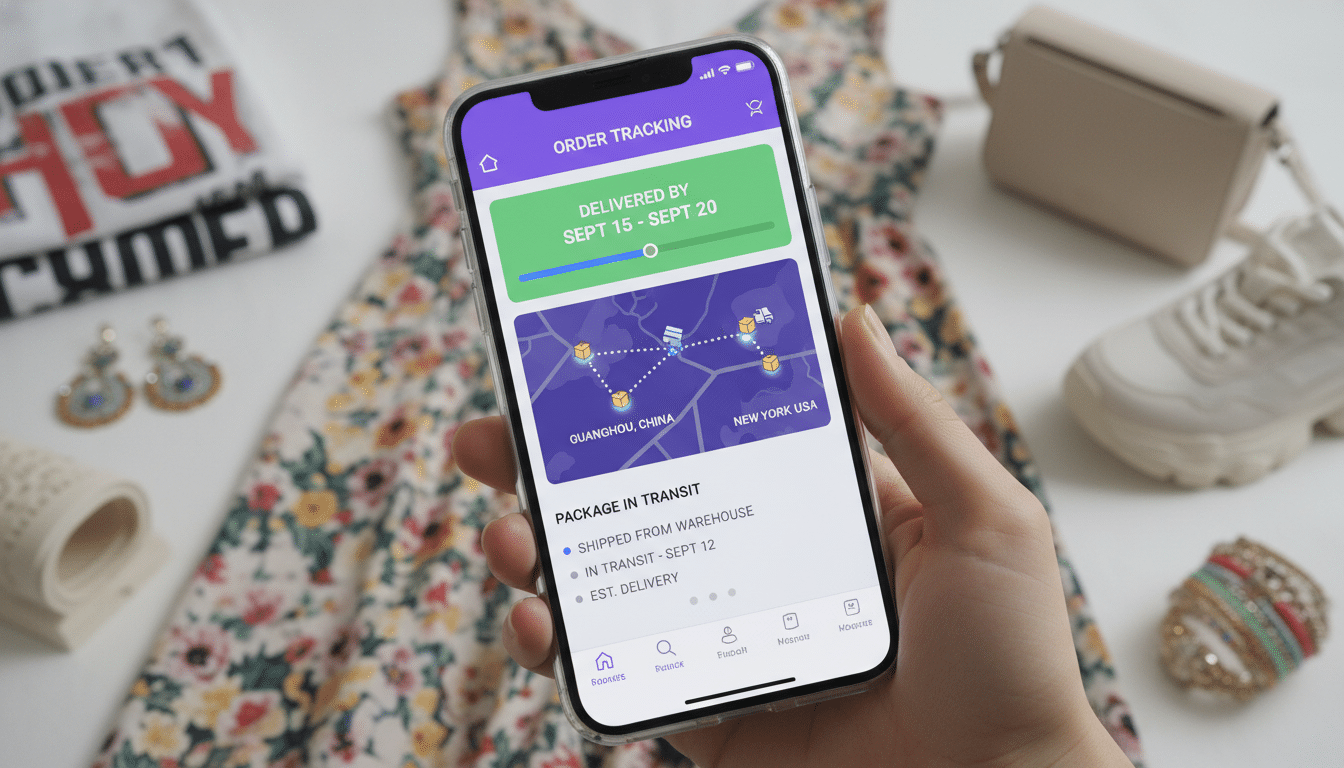
How to Track Orders on the SHEIN App (Shipping & Delivery)
This short guide helps U.S. shoppers use the Shein App to follow orders. It also explains shipping and how to fix delivery...
Tech
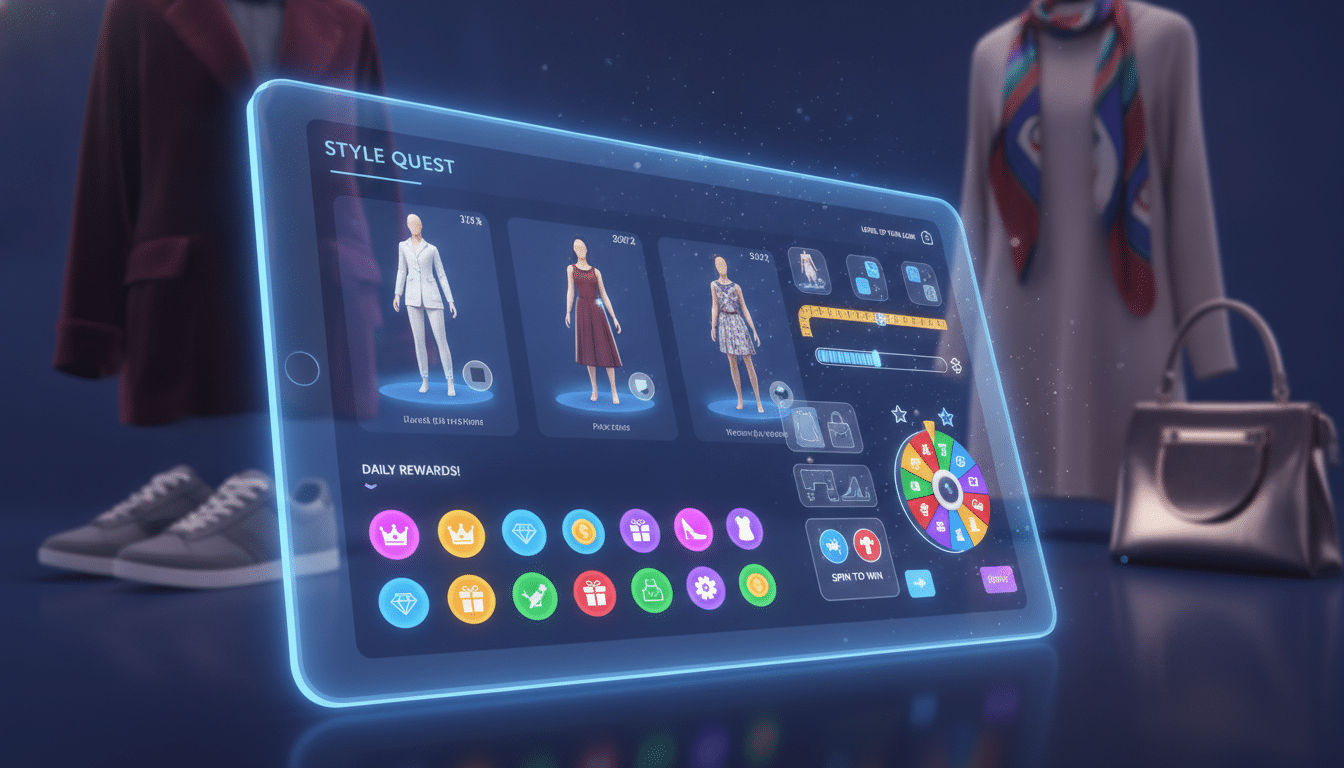
How SHEIN Uses Gamification to Increase Engagement
SHEIN has built a mobile-first business by making the app itself a product. This article looks at how SHEIN gamification drives user...

The Future of SHEIN: Tech Innovations to Watch
SHEIN has reshaped fast fashion with a data-first model. It turns trends into products very quickly. The company uses massive SKU turnover,...
SHEIN App Updates: What Changes and Why
The SHEIN app is a key tool for millions who shop fast fashion in the U.S. and worldwide. This article explains the...
Tips
SHEIN Trend Tips: How to Find Viral Pieces Before Everyone Else
SHEIN moves fast. In the United States, the platform’s high SKU turnover and fast product refresh help trends explode overnight. It has...
SHEIN New User Tips: What to Do Before Your First Order
This short guide helps U.S. shoppers prepare for a smooth first purchase on SHEIN. SHEIN is a global fast-fashion marketplace and a...
Fashion
Shein Trial Requirements: A Guide for Frequent Customers
Participating in the platform’s testing program requires a combination of consistent account activity and producing detailed reviews of received products. The system...
How to Get Shein Clothes Through the Testing Center
The Shein Testing Center is a valuable opportunity for frequent shoppers to receive items for evaluation without direct financial investment. This guide...
Shein Trial Requirements: A Guide for Frequent Customers
Participating in the platform’s testing program requires a combination of consistent account activity and producing detailed reviews of received products. The system...
How Shein Trial Works: A Guide for Loyal Customers
The platform’s trial program allows frequent customers to receive items for testing in exchange for detailed reviews. This guide explains the participation...
How to Get Shein Clothes Through the Testing Center
The Shein Testing Center is a valuable opportunity for frequent shoppers to receive items for evaluation without direct financial investment. This guide...
Shein Trial Requirements: A Guide for Frequent Customers
Participating in the platform’s testing program requires a combination of consistent account activity and producing detailed reviews of received products. The system...